Monday, 28 September 2015

10 Images to Recreate

Lesson: 21-09-2015

We were asked to find 10 or so images, including artwork or photography, that were freaky, unique or surreal. Once this task was done, we were asked to find and pick one of these images that we wished to recreate. I chose the images I chose as I feel that there is something like a deeper meaning that could be found in each image, even if there doesn't seem to be much on the outside of the images I have chosen.

African Bread Hut by Onanymous


scream by vidi


The Three Sisters by Lady-Symphonia

Getting to Know Your Camera

Lesson: 21-09-2015

Memory Check

What two Greek words make up the term 'photograph'?
  • phōtos - meaning 'light'
  • graphé - meaning 'representation by means of lines'
List two essential items you need to complete your photography course.
  • SD Card; 32 GB; Class 10
  • Camera
What do we do to make the camera achieve focus?
  • Hold the shutter button halfway down.
The 'mode dial' on our camera has the following four acronyms, what do they stand for and what do they control?
  • 'A' = Aperture - the opening of the lens. The  larger the hole, the more light that gets in; the smaller the hole, the less light that gets in. 
  • 'P' = Program - the program setting controls the ISO, white balance, shutter speed and aperture.
  • 'S' = Shutter Speed - how fast or slow the shutter moves.
  • 'M' = Manual - allows full control of the camera.


In this lesson, we were introduced to the camera we would be using in our photography lessons. First, we were given a camera to look at and we had to draw the front, rear and top elevation in the boxes we were provided with. We then had to label any parts of the camera we might already know before we went through it and added in the labels of the camera. 

Photoshop Mash-up

Lesson: 17-09-2015


In the second part of this session we were taught how to cut out images with the pen tool. We were then instructed to collect different images and use the body parts to merge the images together in order to create something 'freaky' or 'unique'.

For my image, I chose to put a dog's head onto a cat's body; I felt that it was a simple thing to choose to do, but I wanted to ensure that I knew what I was doing, and that it would look right once I was done.

In order to make the mash-up picture, I had to find two pictures (or more) that I wanted to put together and use the tools that I'd learnt in the lesson.

Adding and Merging Features in Photoshop

Lesson: 17-09-2015

To begin with, we were told how to do the basics in Photoshop; these including, how to open a new file, setting some basic dimensions and then copying a picture into Photoshop. We were shown how to use the 'Clone Stamp' tool, which allowed us to press the windows button and Alt in order to see a 'target'. With this target, we press left click and then create a new layer. On this new layer we drew on the cat's forehead, which would produce the eye on the forehead of the cat.

After, the new eye was moved into the right place by selecting the 'move' tool and then moving it to the right place. Then, in order to rotate it so that it looked as though it was looking the same way, I pressed CTRL + T in order to have a box appear around the image. Moving the mouse to the corner, this allowed the picture to be rotated and allowed it to look more natural. 

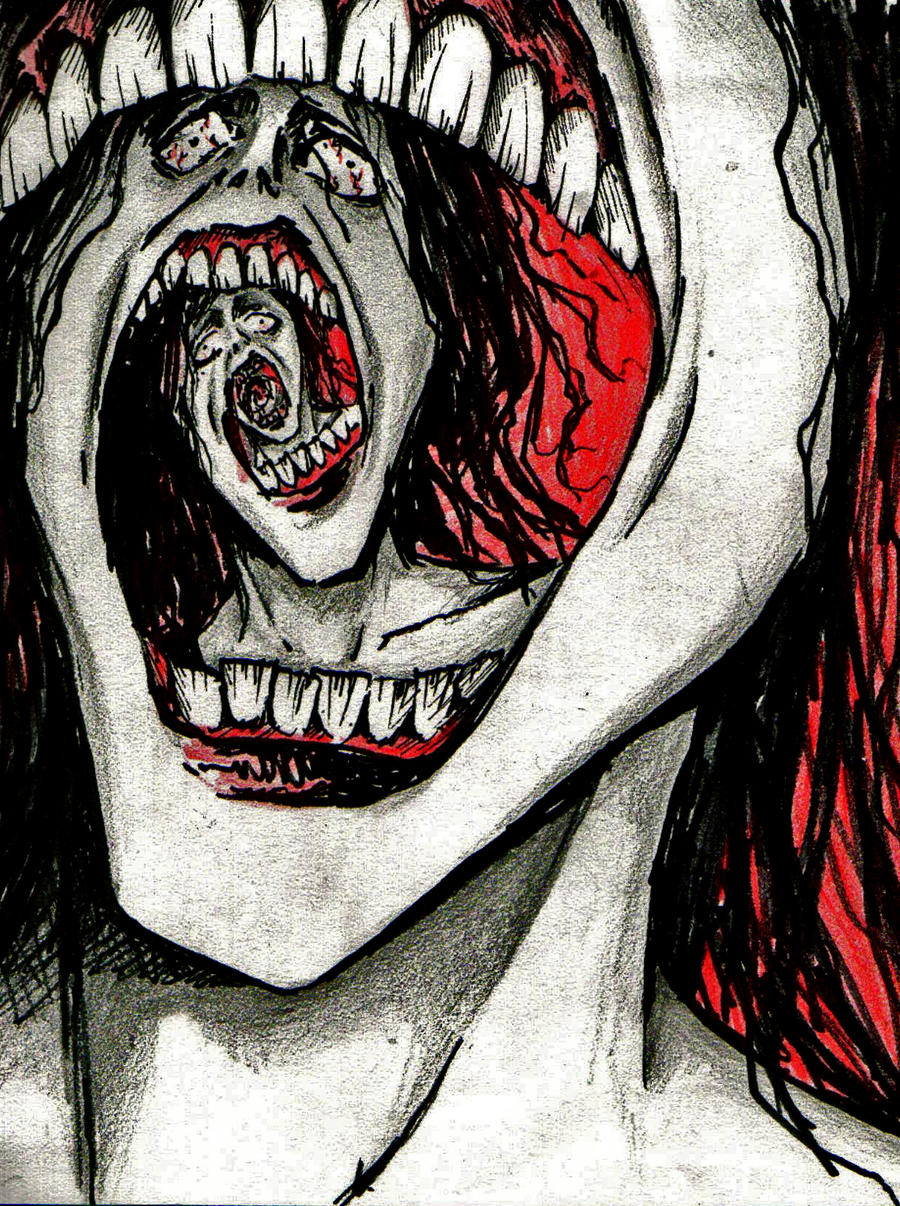
We then had to go to find a different picture, this time of a person. We had to do essentially the same thing, but with a different feature of the person. This time, selecting the 'Clone Stamp' tool again, the mouth of the man was the selected feature. Then, again creating a new layer and ensuring that the new layer was selected, an additional mouth was drawn below the initial one. Again, pressing CTRL + T, the new feature was moved to the right position.

For the final task, we had to merge features from the picture of an animal with the face of the person. For mine, I used the eye and nose of the cat and put them onto the picture of the man I used. It involved the same techniques as before, using the Clone Stamp tool to select the features, adding a new layer and then drawing the feature on the new layer. After arranging the new features where they needed to be, I saved the image.

When saving the images, selecting 'save as', we had to save the image twice. Once as a PSD file, so that we could reopen the file with all of the layers later; then as a JPEG file, so that we could upload the image should we need to.

What we Learned in the Practical Session

Lesson: 16-09-2015

At the start of this lesson, we were required to fill in a diagram with male and female directors in. Finding male directors was quite easy; but managing to find female directors was harder than I thought it would be.


After we discussed this as a class, we watched a short film directed by Simon Ellis called 'Soft'. It left quite an impression for a film that was only 15 minutes long.

We then learnt about the Rule of Thirds and where we should place a subject when making a shot. We were then told that the composition is where the director would choose to place or arrange the subject or props.

We got separated into groups so that we could go out and shoot different types of shots. The shots we had to shoot were the establishing shot, a mid-shot, a close-up shot, and extreme close-up shot and then a point-of-view shot. Once we were taught how to use the white balance in our group, we were sent out to shoot the specific shots we were asked for.

Unfortunately, my group didn't obtain the shots we needed as we got confused as to whether we were required to take pictures of the shots or if we had to film the shots. This was most likely our own mistake, as we didn't ask to begin with and then didn't go back to ask when we were unsure.

When we got back to the classroom, we were shown a short video about 'crossing the line', and the '180 degree rule'. This rule states that the camera can only be kept on one side of an invisible line during a shot and, should this line be crossed, it is known as 'crossing the line'. In order to allow a shot to be seen from the other side, the camera must be shown moving to the other side. This is known as a 'tracking shot'.

We were then required to go out in our groups and shoot some shots like the one we saw in the video.

Freaky or Unique Imagery/Artwork

Lesson: 15-09-2015


I find this image very interesting. I like how the artwork has a spiral effect, while still keeping the same image repeating as the spiral gets smaller and smaller. 

image


I find this image quite confusing; though I'm drawn to it. I feel as though it could be interpreted in many different ways.

Tuesday, 15 September 2015

Slogans and Adverts

Lesson: 15-09-2015


Today, we started off with a slogan task. We learnt that a slogan is a short phrase that has a striking effect that is used in advertising. In this task, we had to identify which companies different slogans were from and then we had to come up with a range of ideas about why which specific company chose their specific slogan to use. Some had a more varied target audience, which made it difficult to pinpoint why specific slogans were used; while others were quite defined in where their slogans were targeted. We went around the room, comparing answers from others and filling in things we didn’t have or weren’t sure of.

After the slogan task, we were separated into groups which we would work in in order to create an advert. We had to collect slips of paper with a specific target audience, the product we would be advertising and then where the product would be advertised. In our group, our target audience was older business men, our product was a digital camera and our product would be advertised in a magazine.


We started off by putting our ideas onto paper. We had to come up with a slogan, product name and the advert itself. While doing this we had to make sure that it stayed directed at towards our target audience, such as what they would be using it for and the kinds of things they would need and what they might look for in a digital camera.

After that, we had to present the product to the rest of the group. We each took turns speaking, so that we all managed to say something about our product. We had to tell the rest of the class about our product, who it was aimed towards and then why we chose to put things in the places that we did.


I think we could have improved on this task by putting down more of ideas onto paper and expanding on some of them. We could also have planned what needed to be said and who would be saying it; I feel this would have been more effective when presenting to the group. I feel like the advert wasn’t designed as well as it could have been; with it having been advertised in a magazine, having designed the advert portrait rather than landscape would have proved to be more realistic and effective in the long run. The information could have also been spaced out better; it kind of looks all over the place when looking at the advert itself. If we had added colours to the advert, I would think that darker colours would have worked better, taking the target audience into consideration.